Well I got a nice surprise today.

This box is bursting at the seams with AWESOME.
I’ve been working with OMW kits on a few upcoming projects, but today I received a package that I couldn’t help but share: OMW’s long-awaited (I had initially pre-ordered this thing Black Friday 2011) Longshot Immortal Complete Kit! The box didn’t stay closed for long.

Even more detailed directions to ignore!
Before digging into the kit itself, I’d just like to give OMW props for putting together a pack-in mod guide for this kit. It’s not as detailed as the PDFs available on the site, but it’s a lot better than previous instructions.
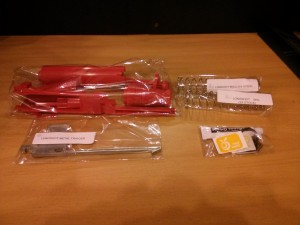
Red internals help mask the blood you’ll shed installing this thing.
Inside, you’ll find a replacement Breech (sorry, no Angel Breech. Yet.), Plunger Assembly, Metal Trigger, Priming Grips, two Main Springs (5kg and 8kg), 2 O-rings, two Catch Springs (one’s a spare), and some lubricant. The two main springs provide the end user with some flexibility in performance. The 5kg spring packs twice the punch of a stock Longshot while still being easy enough to prime. The 8kg gives this kit the maximum performance possible without a sealed breech. Speaking of breeches:
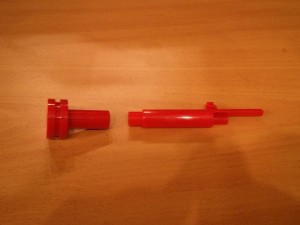
Yay, a photo where you can’t see any detail without zooming in.
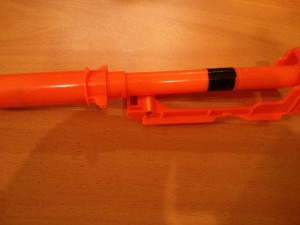
The Immortal Breech is designed for the barrel to screw into the plunger stop. There’s good reason for this: Word on the street is that OMW’s planning a sealed breech kit for the Longshot. A screw-on barrel means the breech system can be replaced without cutting or having to tear apart the entire plunger assembly. The breech isn’t the only part to get new threads, either:
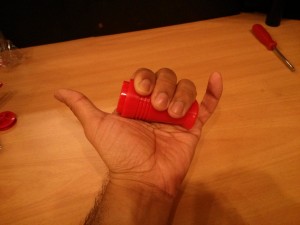
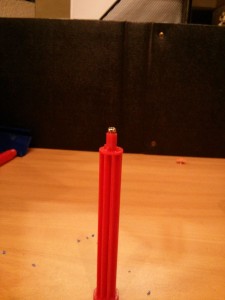
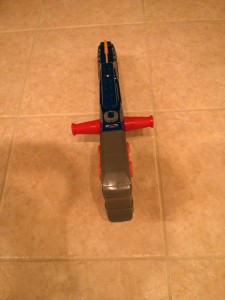
OMW’s gone ahead and replaced the stock priming grip with man-sized, screw-on grips. Sadly, I’m a 6ft grizzly bear.
My giant bear paws can manage three fingers comfortably on the new grip, and I can force four together. This grip should fit the average user great, and it’s a definite improvement over the two fingers I wrap around the stock grips.
Also, for those who won a spare set of grips during OMW’s last contest, the grips -are- compatible with a Massacre Longstrike – you simply don’t screw the grips together as tightly to compensate for the wider blaster. I emphasize the Massacre aspect of it, as the grip rods don’t fit into a stock Longstrike boltsled.
The stock Longstrike boltsled has a smaller priming rod hole than the Massacre/Immortal kits, so at best you’ll screw the Immortal rod half-way into the boltsled before it gets stuck. At worst you’ll break the stock boltsled trying to force the rod in or out.
But enough about Longstrike boltsleds! There’s a Longshot kit to gawk over! And Longshot boltsleds to compare.
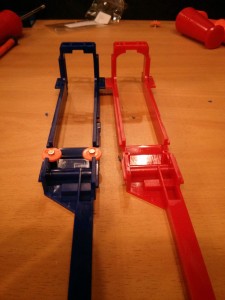
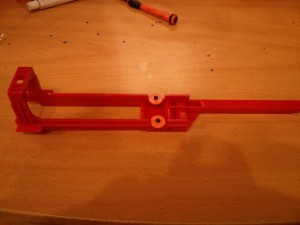
From the side, the OMW sled looks about the same as the stock model. However, OMW’s Immortal sled is made from a stronger, more flexible plastic, making it much better at absorbing shock than the piece it replaces.
From above, the only noticeable difference is the added material around the area that connects the sled to the breech. OMW added rounded corners to the Immortal sled to maximize strength. You also get a clear shot of the holes included for anyone adventurous enough to swap the disc bearings over to the new bolt sled.
No parts are included to perform this swap, and the OMW sled holes are too wide to accept the stock pins. What I wound up doing, after hammering the pins out of the old sled, was to drill larger holes into the bearing discs and attach them to the new sled with some spare screws I had. Also, a tip on screws while we move onto the plunger assembly:
If I have one major complaint about this kit, it’s the lack of threading in the screw holes, or specifically THIS screw hole. BEFORE you try and screw the plunger head on, you’ll want to tap the hole by running the screw all the way through to the base. Repeatedly. It is a TON easier to cut these threads in now than it is to try the same thing while fighting an 8kg spring. Half of my install time was fighting with this screw.
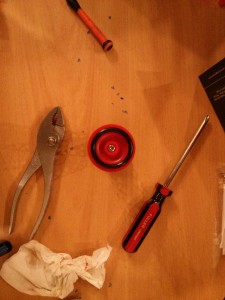
Bloody napkin from fighting with an 8kg spring. They don’t mess around.
Then the fight continued in getting these tiny o-rings to fit onto plungers they didn’t want to fit on. This was no where as much trouble as getting the plunger head screw installed, but be prepared for a tighter fitting o-ring than you’ll find on stock NERF blasters or even previous Massacre kits.
Afterward, you just put your blaster back together and enjoy.
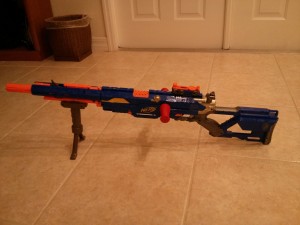
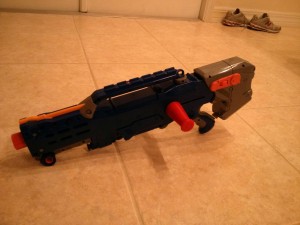
Before anyone asks, I only chose my blue Longshot for this kit as I’ve a gunmetal paint job planned, and the navy blue internals hide in shadows much more easily than yellow.
I’ve not bothered measuring ranges, mostly because I wrapped up this install around 10pm and spent the next hour-and-a-half writing up a blog post. It definitely out-shoots the Massacre Longstrike I put together this evening, and there’s no noticeable drop when firing at a wall from across the house. All in all, it’s a solid kit with a nice bang.


Comments are closed.